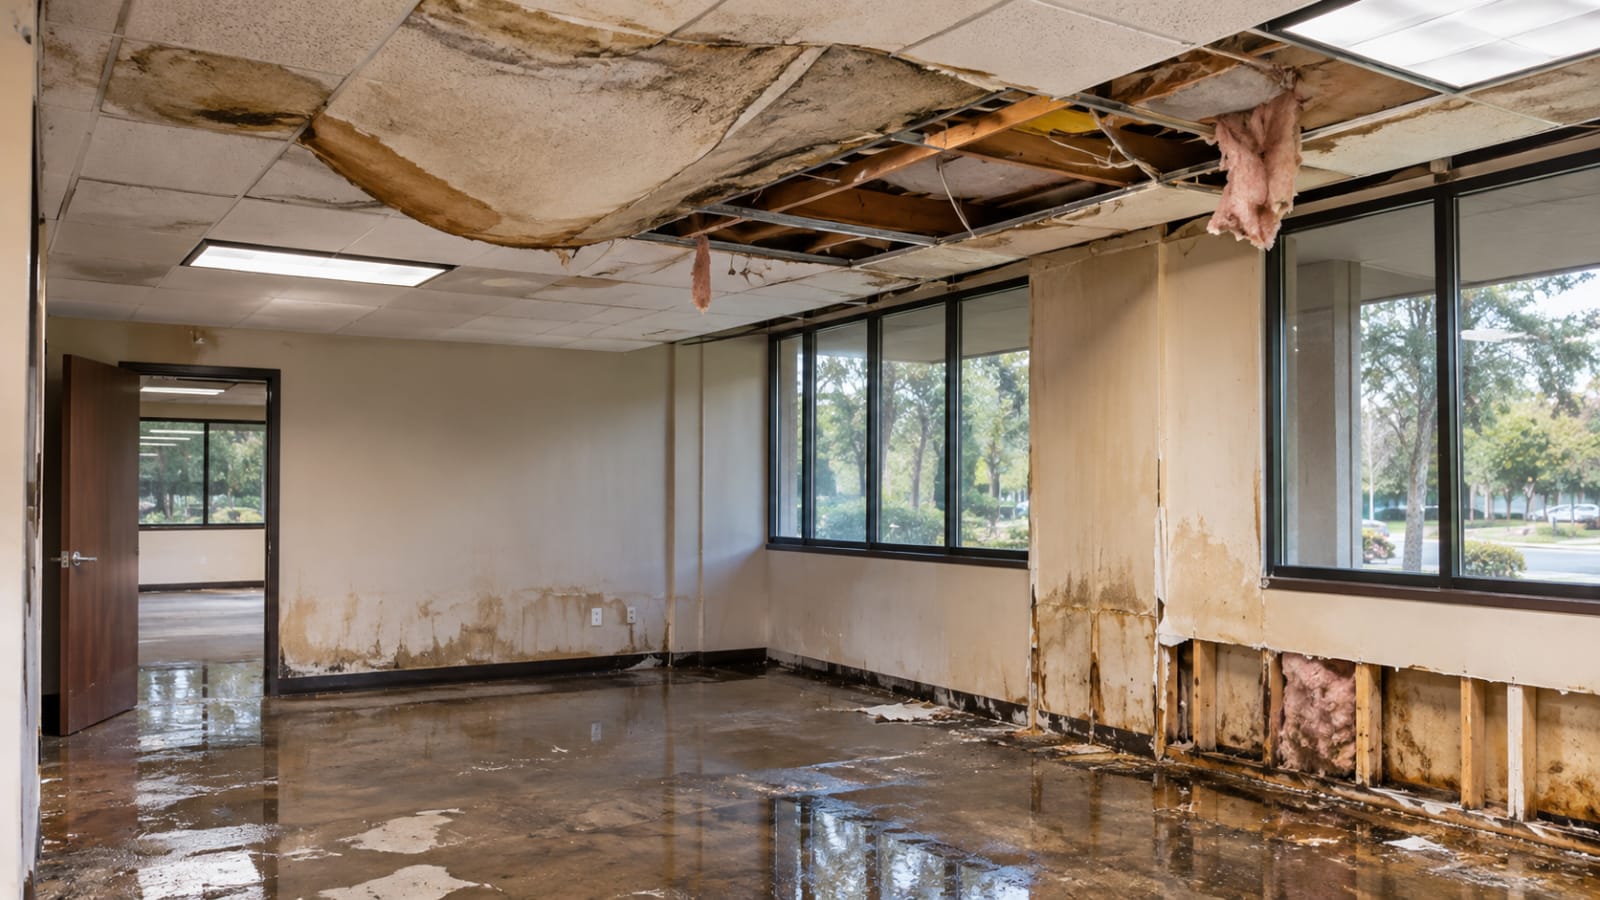
A plumbing failure in a commercial building can extend beyond the room where the leak began. Water seeps beneath flooring, enters wall cavities, and flows into adjacent suites. Meanwhile, the building still has tenants, maintenance staff, equipment, and a schedule that cannot simply stop. By the time a restoration crew arrives, someone may already have moved furniture, extracted water, or opened a ceiling.
The immediate priorities are safety, controlling the source, and preventing further damage. Documentation matters, but it must support those priorities rather than delay them. A useful record helps people who arrive later understand what was actually visible, where it was found, and what had already changed. It also prevents a damaged property from becoming a collection of photographs with no clear relationship to one another.
This article addresses how to document commercial property damage: how to photograph and scan it, organize observations by location, and preserve the differences among the initial condition, mitigation work, and repairs. It is not a guide to determining insurance coverage, diagnosing moisture or mold conditions, or directing restoration activities. Those decisions belong to qualified specialists and the parties responsible for the property.
Begin With Access, Hazards, and the Work Already Underway
A water loss, fire, or storm event may leave behind electrical hazards, unstable building materials, contaminated water, compromised ceilings, or unsafe access. The building owner and qualified responders must establish where documentation personnel may go and what restrictions apply. A camera does not make a damaged area safe to enter.
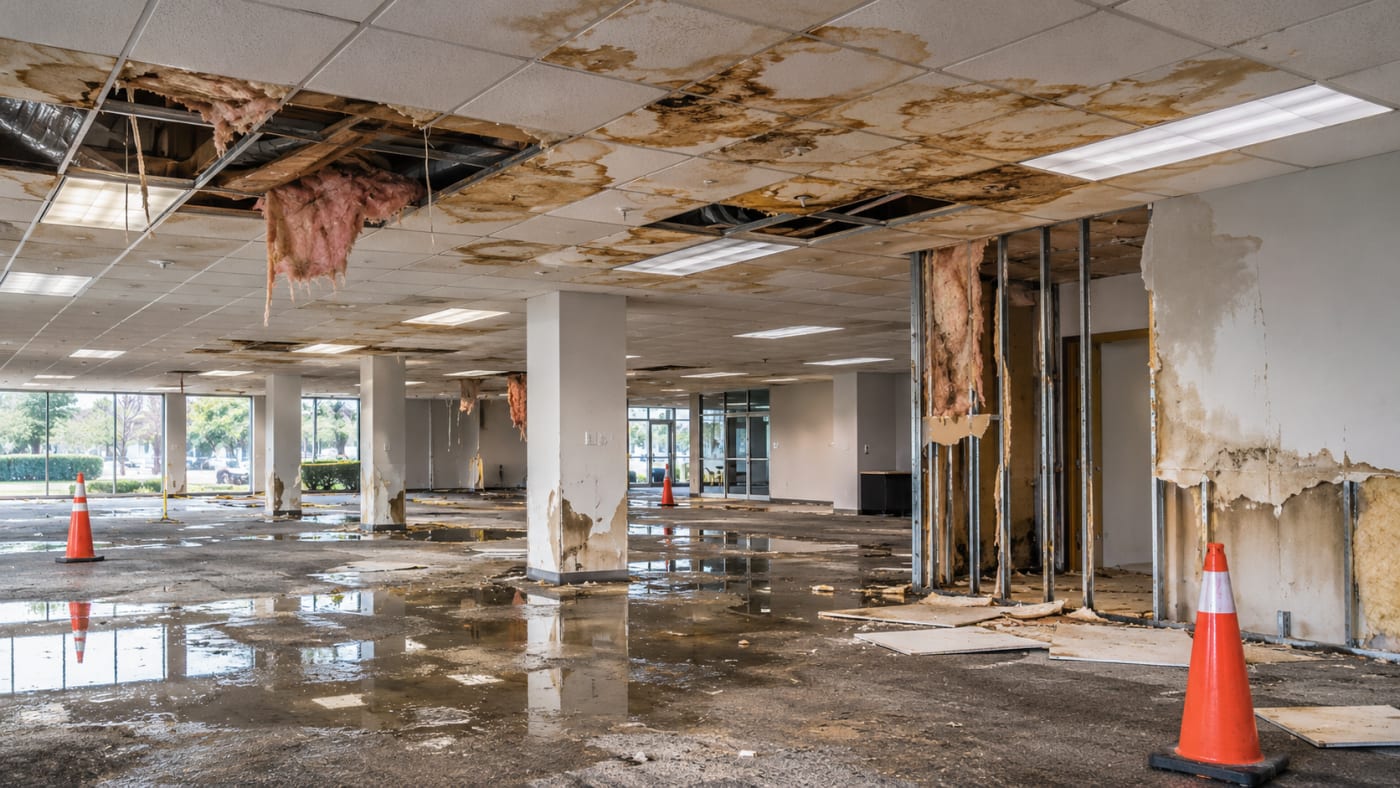
The first field briefing should identify the areas released for access, the known hazards, whether utilities have been isolated where necessary, and which cleanup work cannot wait. FEMA advises documenting damage before removing items, when safe, and emphasizes that residents and property owners should not delay necessary cleanup and protective repairs (Federal Emergency Management Agency, 'How to Document Damages'). The exact requirements for a commercial insurance claim depend on the policy and insurer; general disaster guidance is not a substitute for those requirements.
Record the date and time of the visit. Ask what has happened since the event: water extraction, equipment shutdowns, temporary roofing, material removal, relocation of contents, or emergency repairs. If the capture begins after some work has been done, state this plainly. A scan made on Tuesday cannot be described as the condition of the property immediately after a Sunday loss.
Give Every Room a Location and a Clear Name
On a large commercial assignment, the organizational challenge can be harder than the photography. A damaged ceiling tile in Suite 210, a stained corridor wall, and a wet storage room may all look similar in close-up images. Without a room reference, those photographs become difficult to place weeks later.
Start with an agreed-upon location system. Use existing floor plans, room numbers, tenant names, floor designations, or another consistent method approved by the client. If the building lacks reliable numbering, establish temporary labels and document how they map to the actual layout. Keep the naming consistent across all subsequent visits.
Capture an overview before taking detailed photographs. Show the room entrance, orientation, adjacent openings, and the broader wall or ceiling containing the condition. Then photograph the specific feature. A single close-up of damaged drywall may reveal its surface condition, but it does not indicate which wall was involved or how close it was to an equipment room, restroom, or exterior elevation.
In a multitenant building, document boundaries as carefully as damaged areas. Show the corridor connecting affected suites, the rooms that were accessible but showed no visible damage, and the spaces that could not be entered. The absence of visible damage in a photograph is not proof that concealed materials are unaffected. It remains useful to identify which locations were observed and which were not.
Separate Visible Conditions From the Damage Assessment
Documentation should use descriptive language that is supported by the image. 'Discoloration along the lower wall' reports an observation. 'Water migrated through this wall from the upstairs bathroom' presents a causal conclusion that may require investigation. Likewise, a dark area in a photograph should not be labeled mold based solely on its appearance.
A consultant may use moisture meters, sampling, intrusive inspections, or other methods to assess conditions behind finished surfaces. Those findings should remain attributable to the professional who obtained and interpreted them. EPA's commercial building guidance distinguishes among visual observations, moisture investigation, remediation planning, and evaluation of hidden conditions (Environmental Protection Agency, 'Mold Remediation: Chapter 3'). The visual documentation record can identify the test location, but it does not convert a photograph or 3D scan into a moisture reading.
When relevant, photograph material transitions, baseboards, door thresholds, wall penetrations, floor drains, ceiling openings, and exposed assemblies. Include a scale only when appropriate and ensure it is accurately positioned. Equipment labels and identification numbers may help a later reviewer link a room to maintenance or repair records. Avoid adding arrows that imply an unverified flow path or making annotations that overstate what the image shows.
When an Interior Scan Adds Useful Context
A ground-based reality capture walkthrough can connect rooms and corridors in ways isolated photographs cannot. This is helpful when several parties need to discuss the same area but cannot all attend the original site visit. A reviewer can move from the affected suite into the adjacent corridor, locate a specific ceiling opening, and then open supporting close-range photographs.
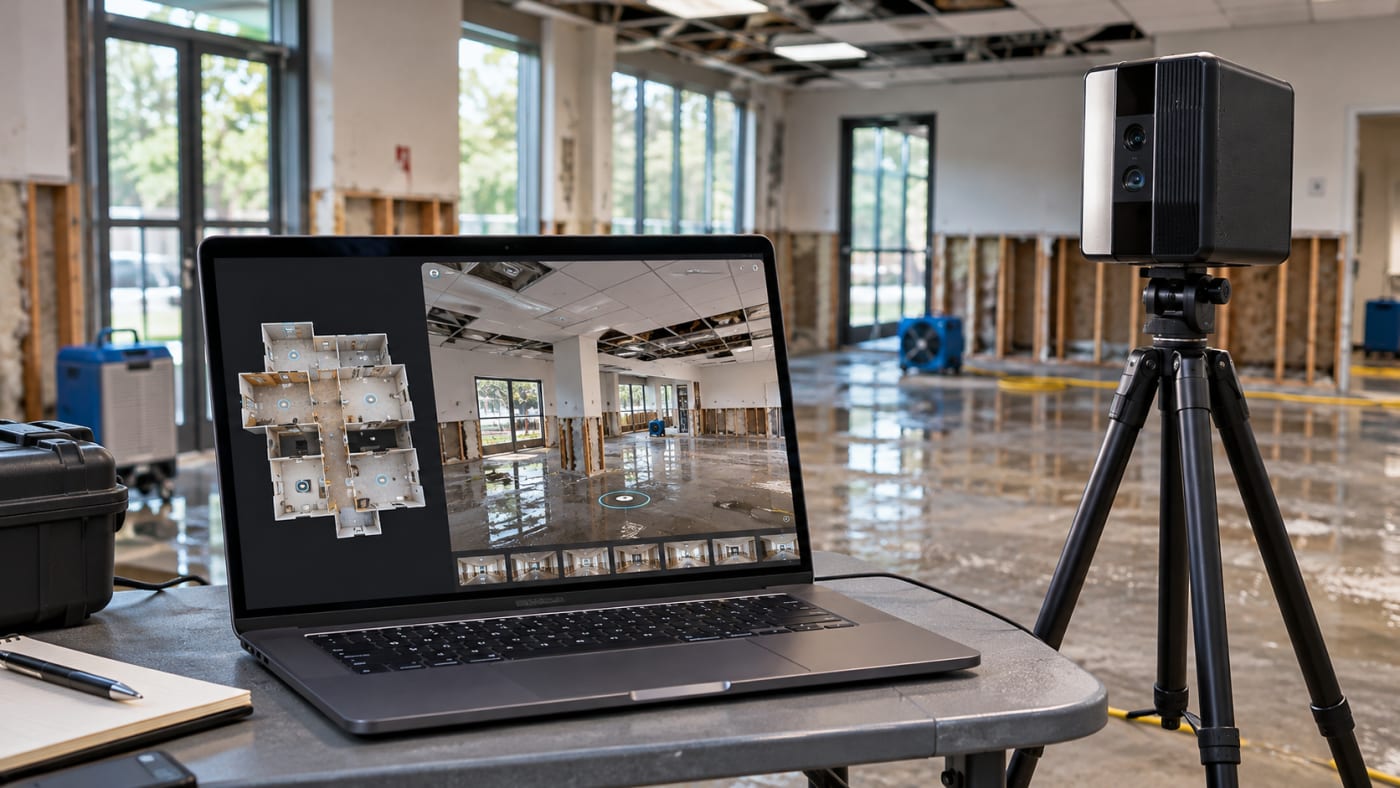
The scan must be planned around the assignment. A complete-looking walkthrough may still miss recessed areas, spaces behind stored contents, the underside of equipment, or an inaccessible room. For commercial losses, an operator may need additional positions to capture furniture, damaged finishes, and building services. Keep a separate set of detailed photographs for conditions that are difficult to examine in the panoramic view.
For exterior storm damage, aerial photographs can place roof damage, drainage features, and affected entrances in the context of the entire property. Drone use depends on site hazards, weather, airspace, permissions, and other operating restrictions. An aerial image also cannot show whether an assembly is damaged beneath an opaque roof membrane.
There is also a measurement distinction. A navigable model can be useful for room relationships and preliminary review, but critical dimensions, quantities of damaged material, and construction tolerances may require independent measurement or verification. Matterport's restoration guidance describes dated, room-specific records, measurements, and phase-by-phase documentation; these are organizational goals, not a guarantee that every generated dimension is accurate (Matterport).
Create a Record of the Restoration Stages, Not Just the Loss
A property does not move directly from damaged to repaired. It may go through water extraction, drying, selective demolition, containment, structural repairs, systems work, and finish installation. These stages can reveal conditions that were not visible on the first visit. They can also remove evidence of what existed earlier.
A useful capture schedule therefore follows project decisions rather than relying solely on calendar dates. Obtain an initial record when access is safe, then document important milestones such as exposed wall cavities, removed flooring, temporary protection, or substantial repairs. The next visit should repeat the same location labels and, preferably, some consistent overview viewpoints so differences are easier to explain.
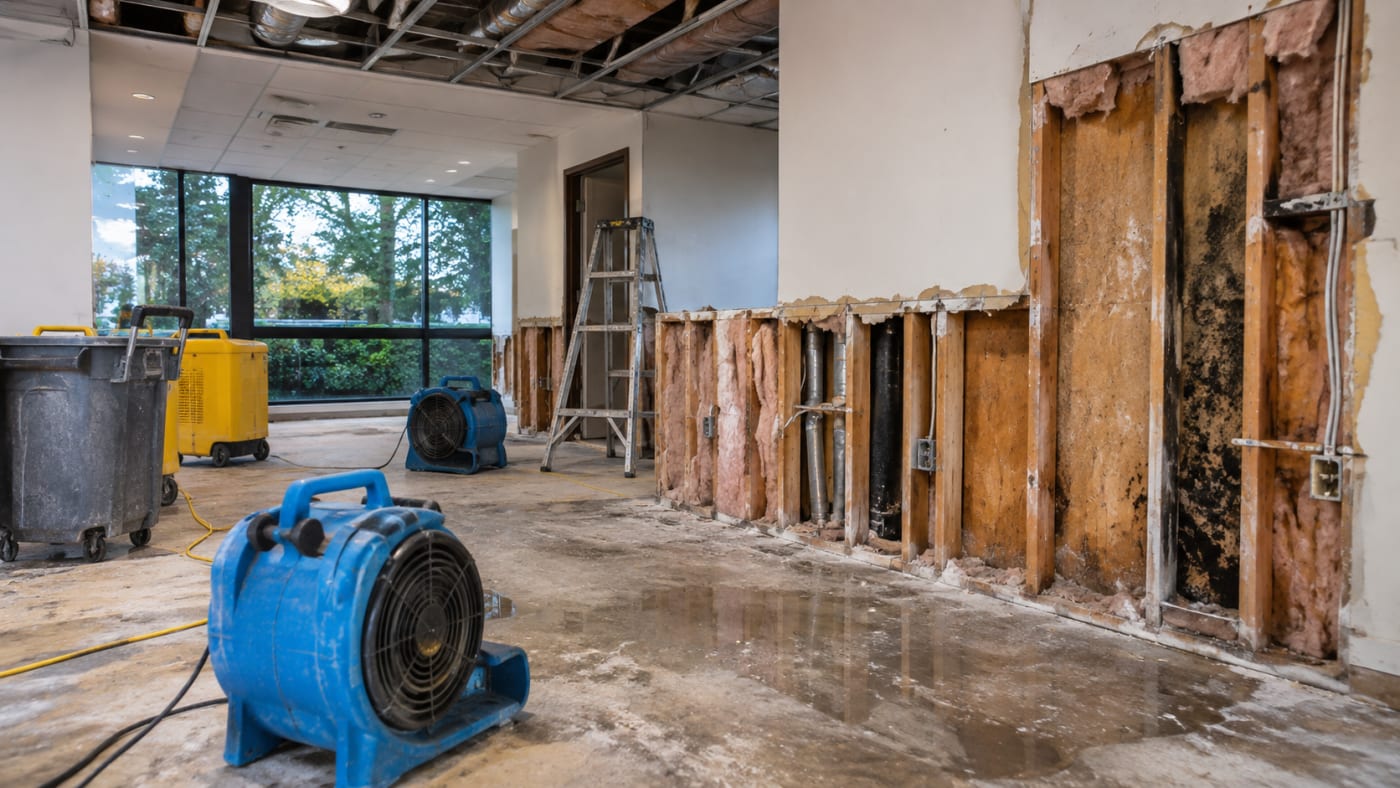
EPA advises identifying and correcting moisture problems before remediation begins and modifying plans when hidden damage is discovered (Environmental Protection Agency, 'Mold Remediation: Chapter 3'). A photo record can show when a wall was opened or when a damaged finish was removed. It cannot establish that a material is dry, that a remediation protocol was followed, or that the work passed a professional clearance assessment.
The result should be a dated sequence with clear boundaries: initial observable conditions; conditions documented during mitigation or selective removal; and the condition after repairs. If the building owner has an earlier pre-loss survey or scan, identify its collection date and scope. A recent 'before' image may be helpful, but it does not establish what happened between that capture and the loss.
Keep Insurance, Contractor, and Technical Records Distinct
Property damage projects involve several types of records. Adjusters may need an inventory and quantities for a claim. Contractors may need photographs of work areas and materials to prepare a scope. Engineers or industrial hygienists may need access to conditions for their evaluations. All may use the same images, but they do not make the same determinations.
The National Flood Insurance Program's claims manual describes room-by-room damage information, photographs, and measurements as part of its claims documentation process (Federal Emergency Management Agency, National Flood Insurance Program). Those procedures apply within their specified flood-insurance context, not automatically to every commercial property policy. The broader lesson for a field documentation team is that a well-organized record makes it easier for authorized specialists to find what they need.
Maintain original captures separately from edited images, annotations, and exports. Track what was provided to whom. If a photograph includes an interpretive note from a consultant, identify the note's author rather than treating it as an original camera observation. Clearly indicate which images show areas accessed by the documentation team and which come from a different source.
A digital walkthrough can also reveal sensitive material: tenant information, security layouts, access controls, proprietary machinery, or personal documents. Obtain permission to capture and share, establish access restrictions, and avoid publishing raw tours or imagery without authorization. Privacy and security are integral to a usable documentation process, not an administrative afterthought.
A Practical Example: A Loss Across Three Suites
Consider a hypothetical office building where a failed plumbing connection above a ceiling affects a hallway and three adjacent tenant suites. A restoration contractor begins extracting water immediately. The documentation team arrives after the standing water has been removed but before the damaged ceiling panels and wall finishes are removed.
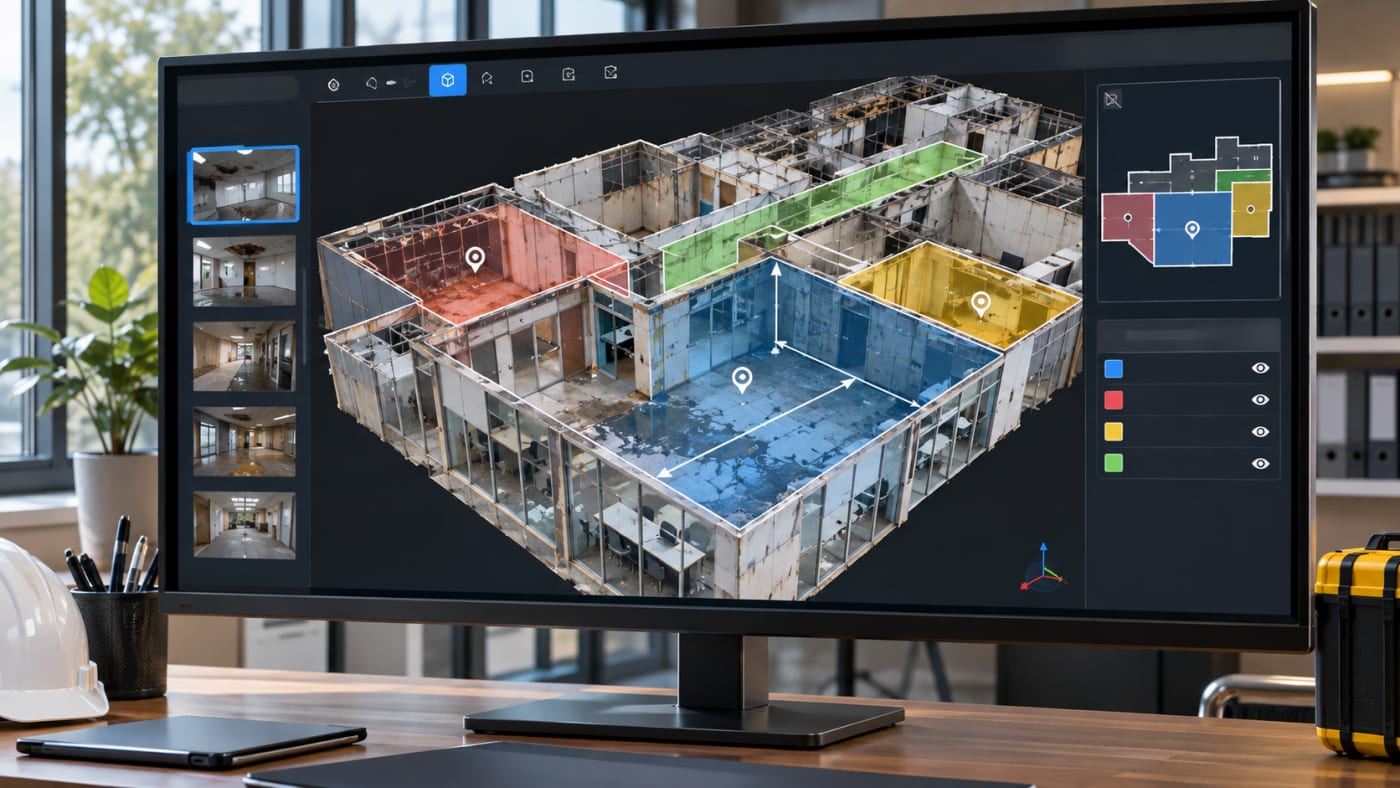
The record begins with a floor reference showing the hallway and suite entrances. Each suite receives a dated room overview, photographs of visible staining and damaged finishes, and close-up details of relevant ceilings, baseboards, and exposed openings. The corridor is documented as the link between the spaces. The team also identifies a locked equipment room that it could not inspect.
A navigable scan preserves the accessible arrangement. It does not establish that all three suites experienced the same level of water exposure. A qualified moisture assessment provides its own readings and conclusions, linked to the relevant locations if the consultant and client authorize that association.
Two days later, after selective removal, another series records the exposed cavities and any additional visible conditions. Repairs are documented in a final pass.
Months later, a reviewer can identify which photographs belong to each suite, the stage of work they depict, and which questions must be answered using the contractor's records or the consultant's report. This is a fictional example of a documentation workflow, not a case study of an actual SterFlies assignment.
What the Final Documentation Package Should Make Easy
A strong deliverable does not require an elaborate interface. It requires reliable organization. At a minimum, a reviewer should be able to locate a room, identify the capture date, view the available overview and detail photographs, determine whether the area was accessible, and distinguish original captures from later annotations.
Depending on the scope, the package may include a navigable interior model, an exterior photographic record, floor plans with location identifiers, dated image sets, field limitations, and links to approved consultant or contractor documents. If measurements are included, specify the method and any required verification. If an area was inaccessible or already altered, the deliverable should state this rather than filling the gap with assumptions.
Spear & Lancaster's published discussion of mold management emphasizes prompt reporting of water intrusions and clearly defined responsibilities among owners, consultants, and remediation contractors (Spear and Lancaster). SterFlies offers a separate service: organized visual and spatial documentation that those professionals can refer to as conditions change.
Commercial property damage documentation is most useful when treated as a field record with a clear purpose. The important questions are not whether a building has been scanned or how impressive the model looks. Can the affected locations be identified? Can the captured conditions be placed on a timeline? Can the next reviewer tell what was seen, what was measured by someone else, and what was never observed? When those answers are clear, the documentation is far more likely to remain useful after the building has been restored.
Works Cited
Environmental Protection Agency. “Mold Remediation in Schools and Commercial Buildings Guide: Chapter 3.” U.S. Environmental Protection Agency. https://www.epa.gov/mold/mold-remediation-schools-and-commercial-buildings-guide-chapter-3.
Federal Emergency Management Agency. “How to Document Damages After Severe Weather Events.” 16 Apr. 2025. https://www.fema.gov/press-release/20250416/how-document-damages-after-severe-weather-events.
Federal Emergency Management Agency. National Flood Insurance Program Claims Manual. June 2025. https://www.fema.gov/sites/default/files/documents/fema_nfip_claims-manual_062025.pdf.
Matterport. “Insurance Restoration: Process, Timeline & Documentation.” Matterport. https://matterport.com/learn/property-insurance-restoration.
Spear and Lancaster. “Mold Management Program: Key Elements in Preventing and Mitigating Mold Claims.” Spear & Lancaster. https://jespear.com/mold-management-program-key-elements-in-preventing-and-mitigating-mold-claims/.